
 Back to Living Notes
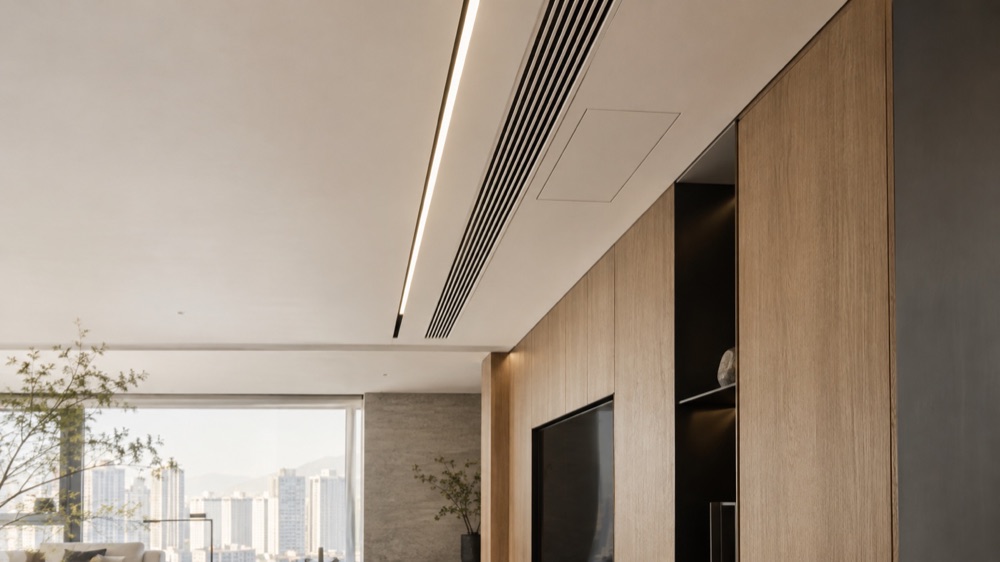
First look at where people stay
A sofa, a dining table, a bed and a passage do not feel the same in terms of height. 深圳市熹合空间设计有限公司 First overlay the beam positions and the construction of each trade onto the section, and compare which areas can be lowered locally and which positions should keep sufficient clear height. Only after working on homes do you understand living; what is above your head when you sit down, and where people stand during maintenance, must both be arranged before drawing the form.
- The living room, dining room, bedroom and main passages each need their clear-height feel judged separately.
- Beam positions, equipment thickness, ceiling substrate and finished-surface thickness must all be calculated together.
- A mock-up section or on-site setting-out reveals a sense of pressure better than looking at renderings alone.
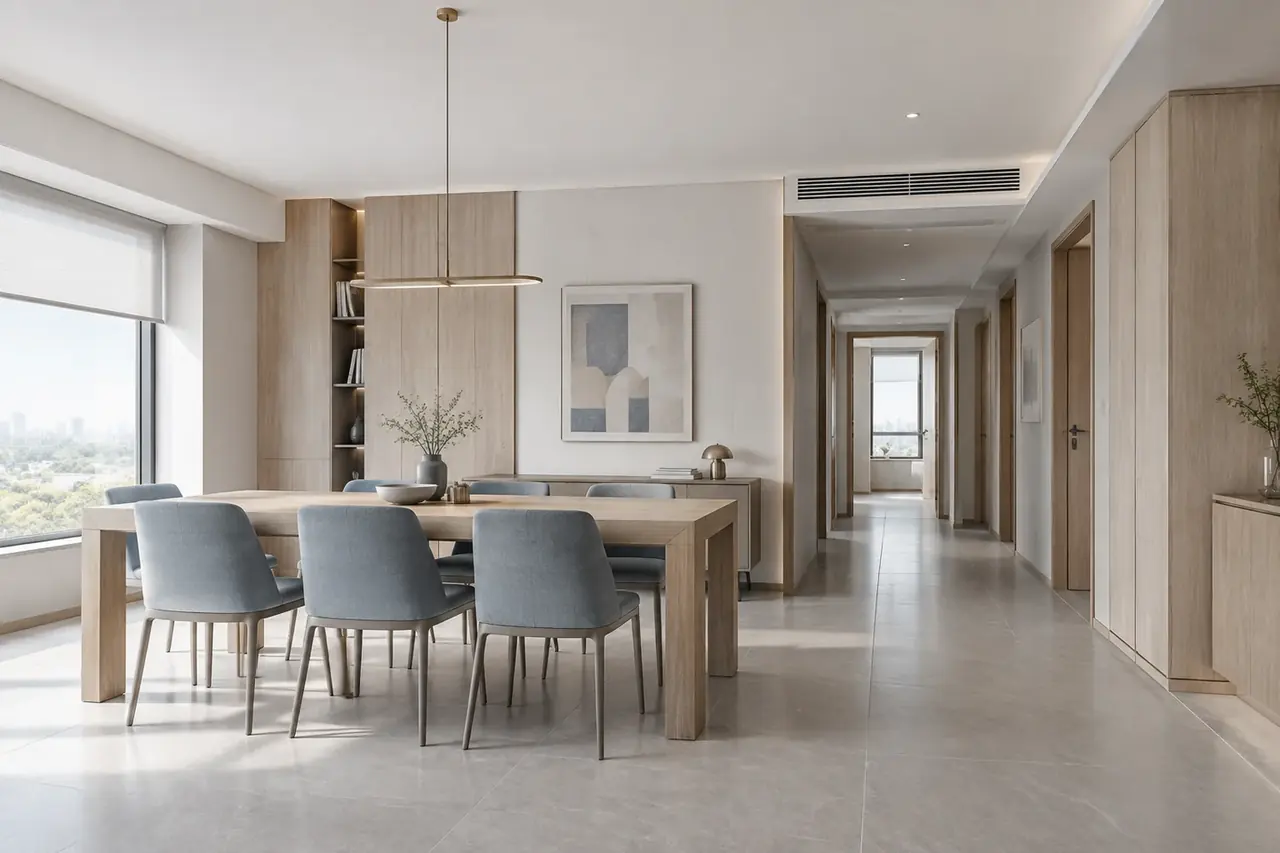
Air outlets and access panels each need to work
The supply-air direction should avoid the places where people sit or lie for long periods; access panels must leave room to open the cover and take out filters or equipment parts; and lighting should follow the needs of reading, dining and passing through. The coordinated drawing checks dimensions, noise and maintenance routes at the same time; it cannot simply overlay different layers on top of one another.
- Every air outlet, access panel and light fixture should correspond to a functional or maintenance reason.
- Equipment should be zoned as much as possible, so that one maintenance action does not affect several living areas.
- Interfaces such as low-voltage systems, smart control and curtain boxes must enter the coordination early.
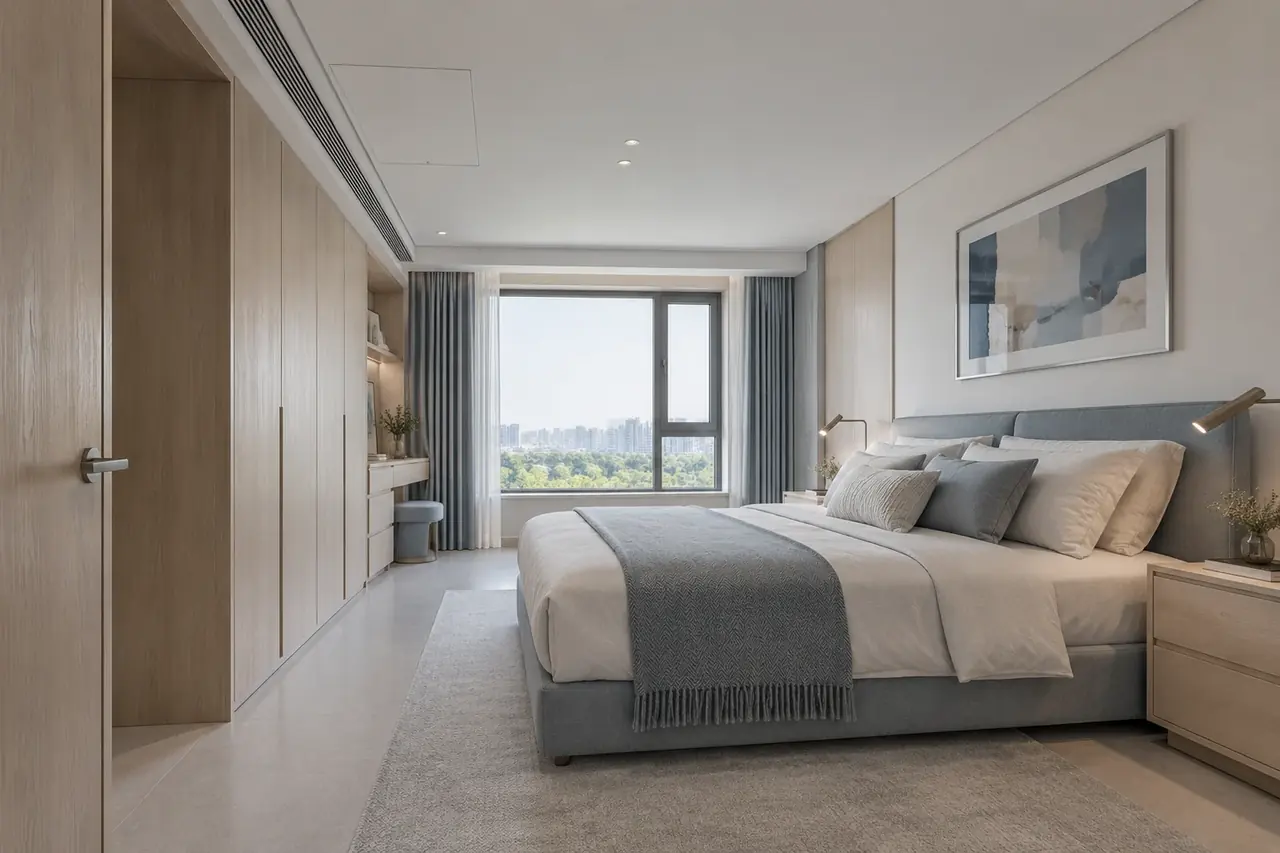
Once the equipment is settled, then organize the ceiling lines
Once the clear height, routes and maintenance space are clear, then coordinate the light strips, linear air outlets and material boundaries. Cabinet doors, curtain boxes and walls are also positioned together, minimizing temporary added panels and patched seams; parts that need maintenance keep clearly accessible openings.
- Form boundaries need to align with furniture, doors, curtains and wall joints.
- Light strips should consider glare, color temperature, driver maintenance and everyday switching logic at the same time.
- Do not seal off equipment or reduce necessary access panels in pursuit of visual completeness.
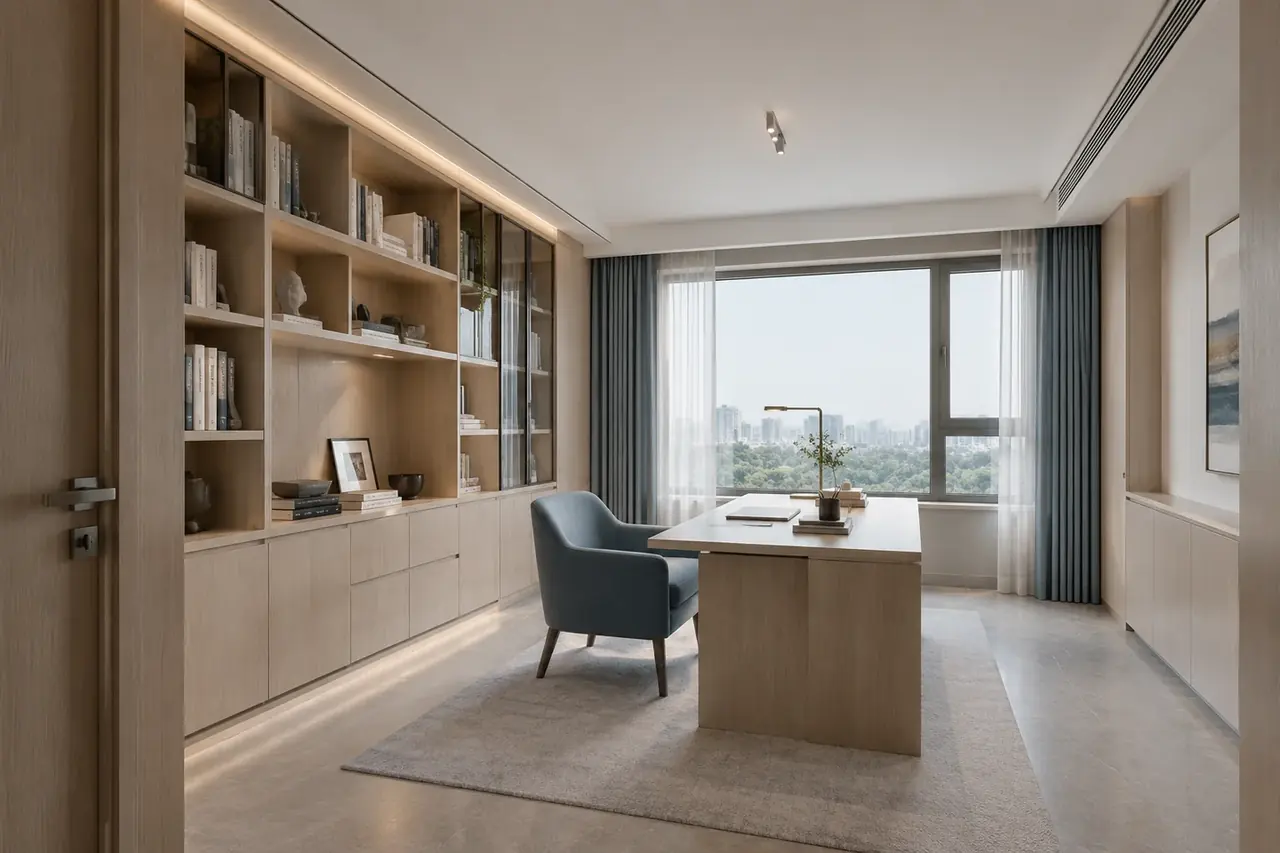
Drawings need to be cross-checked against one another
The plan shows positions, the section shows heights and construction thickness, and the elevation and detail drawings explain alignment, connections and maintenance access. The design team and each trade check the same drawing version, and record adjustments on site in sync, so that one drawing is not changed while another is still built to the old position.
- The coordinated ceiling drawing should be cross-checked against the MEP, lighting, cabinet, door and window drawings.
- Key areas should be given clear-height annotations and equipment maintenance dimensions.
- Record changes during briefing and detail acceptance, and do not let on-site verbal decisions replace drawings.
Frequently Asked Questions
Why can't we start with a beautiful ceiling form?
Because once equipment, clear height and maintenance routes are left until later, the form easily compresses comfortable dimensions or blocks maintenance space. Settling the systems first and then the form reduces rework and later compromises.
Does no-main-light design mean a simpler ceiling?
Not necessarily. No-main-light design involves circuits, illuminance, glare, fixture sizes, ceiling thickness and control logic; only by coordinating them at the comprehensive detailing stage can it stay clean and still work well.
